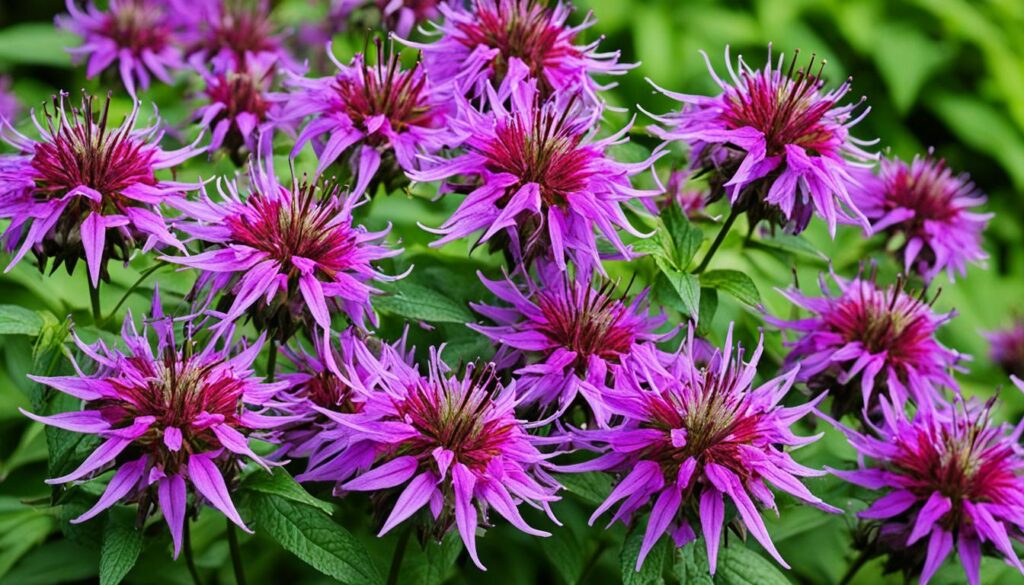
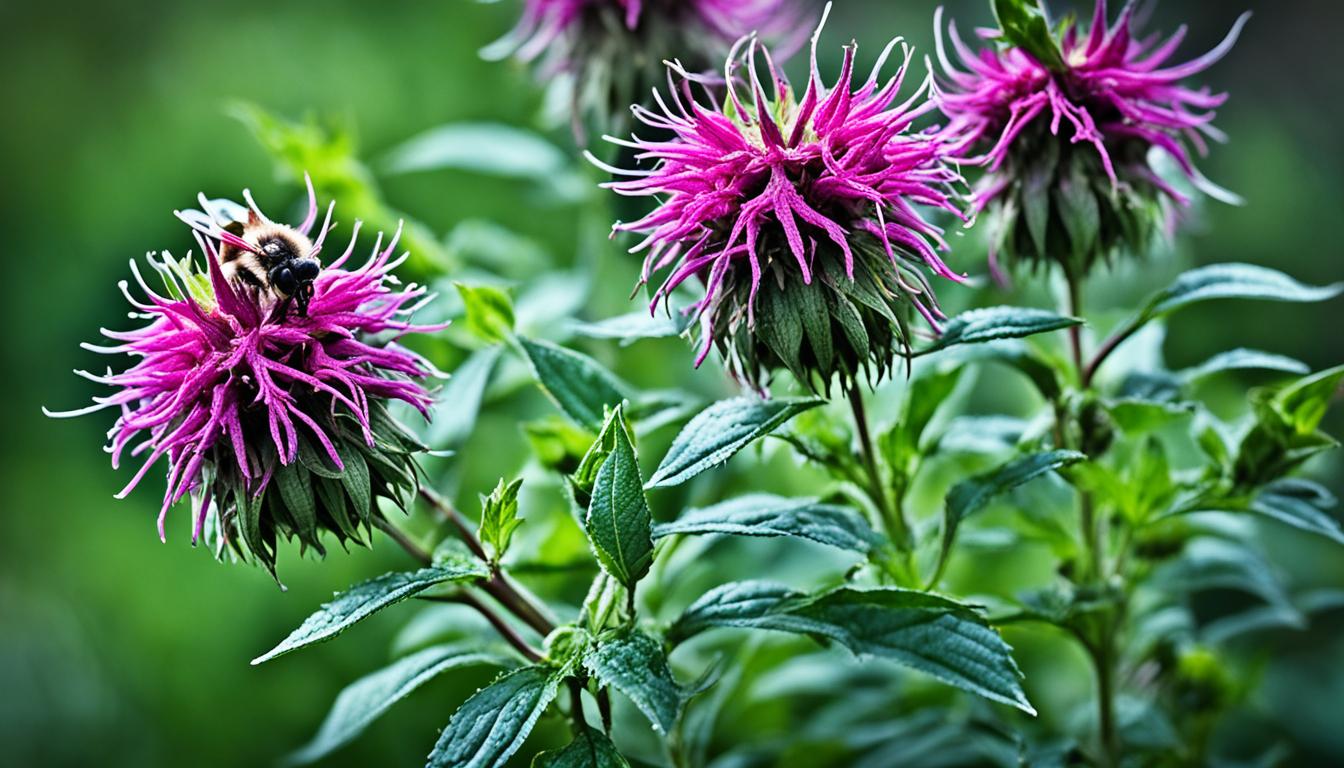
Bee balm, also known as Monarda or wild bergamot, is a captivating herb. It has beautiful flowers and aromatic foliage. It’s a perennial in the mint family, attracting many beneficial insects to gardens.
Native to North America, bee balm has a daisy-like shape but with tubular petals in bright colors. While some plants can grow up to 4 feet tall, dwarf varieties reach about 10 inches. This makes them great for container gardening.
The flowers are edible and can be used in salads. The leaves add flavor to soups and stews.
Harvesting and preserving bee balm seeds is rewarding for gardeners. I’ll guide you through the steps to collect and store these seeds. This way, you’ll have a supply for future seasons.
Identifying Bee Balm Plants and Collecting Seed Heads
Bee balm, also known as Monarda, is a favorite among gardeners. It attracts bees, butterflies, and hummingbirds. The plant blooms in summer, making it a hit in gardens. You can also save its seeds to grow new plants, keeping your garden full of these pollinator-friendly plants.
Distinguishing Bee Balm from Similar Plants
First, make sure you know what bee balm looks like. It stands out with its square stems, toothed leaves, and flower clusters. These flowers come in colors like white, pink, purple, and red. Plus, bee balm smells like mint, which helps tell it apart from other plants.
Timing for Harvesting Bee Balm Seed Heads
- Harvest bee balm seeds in late summer or early fall, when the flower heads are dry and fully mature.
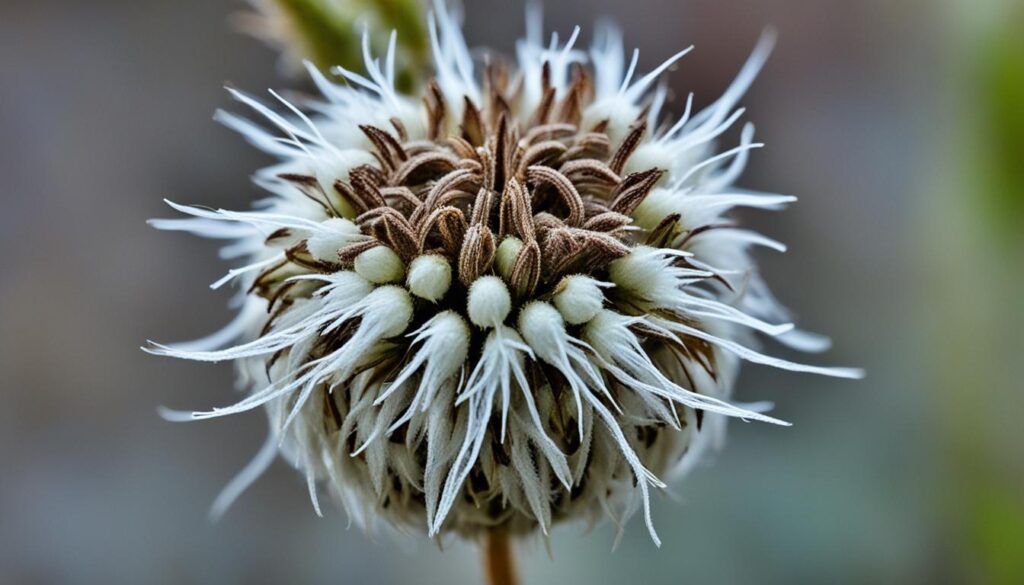
- Look for flower heads that are brown or tan and have hard, mature seeds inside.
- Watch your plants closely as they get ready for harvest. The best time is usually 2-3 weeks long.
Knowing how to spot bee balm and when to harvest its seeds is key. This way, you can keep enjoying the beauty and benefits of these plants for years.

Proper Techniques for Collecting and Drying Bee Balm Seeds
Harvesting and preserving bee balm seeds is rewarding for gardeners. Wild bergamot (Monarda fistulosa) is easy to save seeds from and keeps seeds viable for years. But, it’s key to store them right – UV light and moisture can harm them.
Carefully Cutting and Storing Seed Heads
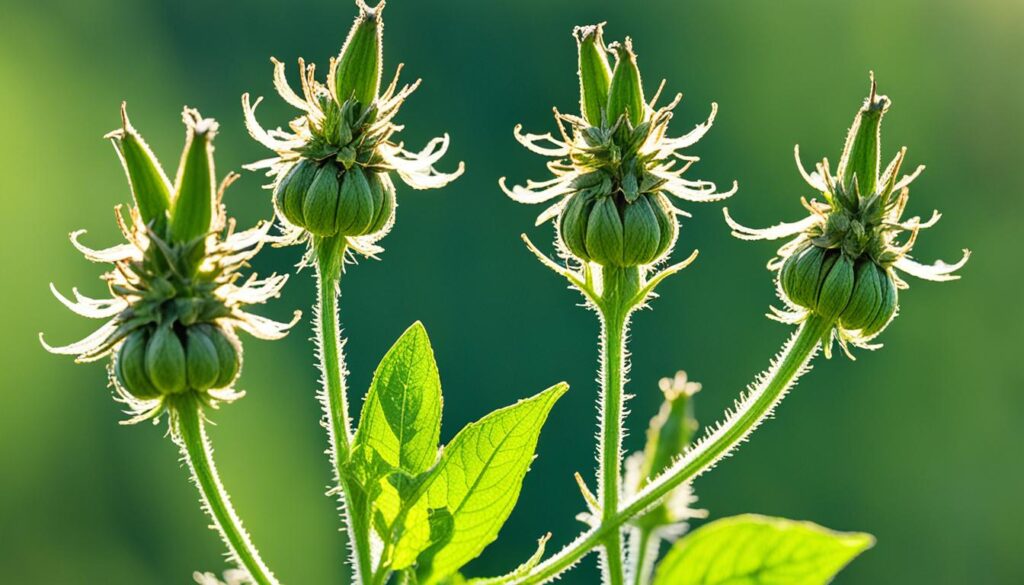
When wild bee balm seed heads are fully grown, cut them in late summer or early fall. Aim for about 20 seed heads to have enough for planting more. Mesh bags with drawstrings work well for carrying the seeds, but fine mesh might not keep them in.
Drying and Extracting Seeds from Seed Heads
After collecting, dry the seed heads. Spread them on a clean, dry spot in a warm, airy place, out of the sun. After a few days, they’ll dry and break easily, letting you get the seeds out. Just rub or shake the seed heads over a container to get the tiny black seeds.
By following these steps for collecting and drying bee balm seeds, you’ll have a great harvest and can grow more of this lovely herb.

How to Harvest Bee Balm Seeds?
Harvesting and storing bee balm seeds lets you grow these lovely, scented plants for many years. By following simple steps, you can get a lot of seeds. This will help you grow your own bee balm patches.
Sifting and Inspecting the Harvested Seeds
After collecting the seed heads, it’s time to sift and check the seeds. Spread the seed heads on a clean, dry area and rub them gently to release the seeds. Use a fine-mesh sieve to separate the seeds from debris. Look through the seeds and throw away any that are shriveled, discolored, or look damaged.
Storing Bee Balm Seeds for Future Planting
Storing your bee balm seeds right is key to keeping them good for a long time. Put the clean, healthy seeds in an airtight container like a glass jar or a resealable plastic bag. Write the seed type and harvest date on the container. Keep the seeds in a cool, dry spot, like the fridge. If stored right, bee balm seeds can last up to 3 years, letting you grow your favorite plants year after year.
Follow these steps to get a lot of how to harvest bee balm seeds, sifting bee balm seeds, and storing bee balm seeds for planting later. Bee balm is a favorite in gardens for its beauty and benefits. By saving its seeds, you can share its beauty with other gardeners and nature lovers.

Tips for Successful Bee Balm Seed Harvesting
Harvesting bee balm (Monarda) seeds is rewarding. It lets you spread this vibrant, versatile perennial. These bee balm seed harvesting tips are great for both new and experienced gardeners.
Start by removing any new sprouts that come up. Bee balm has shallow roots that spread quickly in moist soil. To stop this, consider using metal barriers around the roots.
Pruning is key for a healthy bee balm plant. Cut the plants back to encourage bushy growth. Also, divide the plants every 3 to 4 years to keep them from getting too crowded.
To keep the plants blooming all season, prune them after the first bloom. This encourages a second bloom in the fall. In winter, mulch the Monarda to protect the roots from cold and snow.
Bee balm is usually pest-free but can get diseases like rust and mildew in late summer. To prevent this, make sure the plants have good air flow, are spaced well, and cut them back after they bloom.

Follow these monarda seed saving guide tips for a successful bee balm seed harvesting season. Enjoy the beautiful colors, attract pollinators, and enjoy the plant’s tasty benefits.
Conclusion
Harvesting how to harvest bee balm seeds takes patience and care. But, the effort is worth it. By learning the right ways to collect, dry, and saving bee balm seeds for planting, you can keep this valuable plant in your garden. Always watch your plants and harvest at the right time to avoid problems like powdery mildew. With care and effort, you can enjoy bee balm’s beauty and benefits for many years.
The process of preserving monarda seeds might seem hard at first. But, with the right steps, you can easily add bee balm to your garden. It brings vibrant colors, a sweet smell, and is good for you. By learning how to harvest bee balm seeds, you’ll make a garden that’s great for pollinators and brings joy to you and your wildlife friends.
So, get ready to start your bee balm seed harvesting tips journey. With patience and passion, you’ll soon have a rich harvest of bee balm. This will make your garden and life better.
FAQ
What is bee balm and what are its characteristics?
Bee balm, also known as Monarda or wild bergamot, is a pretty herb with aromatic leaves. It’s a perennial in the mint family that attracts insects. Native to North America, it looks like a daisy but has tubular petals in various colors. It can grow up to 4 feet tall, but there are shorter varieties for containers.
How do I grow and care for bee balm plants?
Bee balm likes partial shade but can handle full sun. It needs good air flow to avoid mildew. The soil should be moist, well-drained, and rich in organic matter, with a pH of 6.5 to 8.
Start seeds indoors 8 weeks before the last spring frost, then move them outside a week before the frost. You can also sow seeds directly in mid-spring, 1/4 to 1/2 inch deep, and 12 inches apart. Keep plants 12 inches apart as they spread out.
How do I harvest and use bee balm?
Harvest bee balm leaves before the flower buds open for the best taste. For drying, cut stems in early and late summer, about an inch above the ground. Cut flowers when they’re almost open for drying.
After flowering, cut plants down to 1 inch to encourage more growth and blooms. You can eat the flowers and leaves in salads, soups, and stews.
How do I propagate and control bee balm?
You can propagate bee balm through division, layering, or cuttings. Divide it in fall or spring, replanting in soil with compost. Stems that touch the ground will root and can be divided.
Take tender tip cuttings in early summer, using a rooting hormone and organic potting mix. Watch out for new sprouts as it can spread in moist soil. Consider using metal barriers to control the roots.
How do I harvest and store bee balm seeds?
Harvesting bee balm seeds takes patience. They need three months of stratification before planting, taking 14 to 21 days to germinate. Start seeds indoors and set out transplants.
When collecting seeds, watch the plants and collect at the right time. Cut the seed heads, dry them, and extract the seeds. Keep the seeds in a cool, dry place for planting later.
