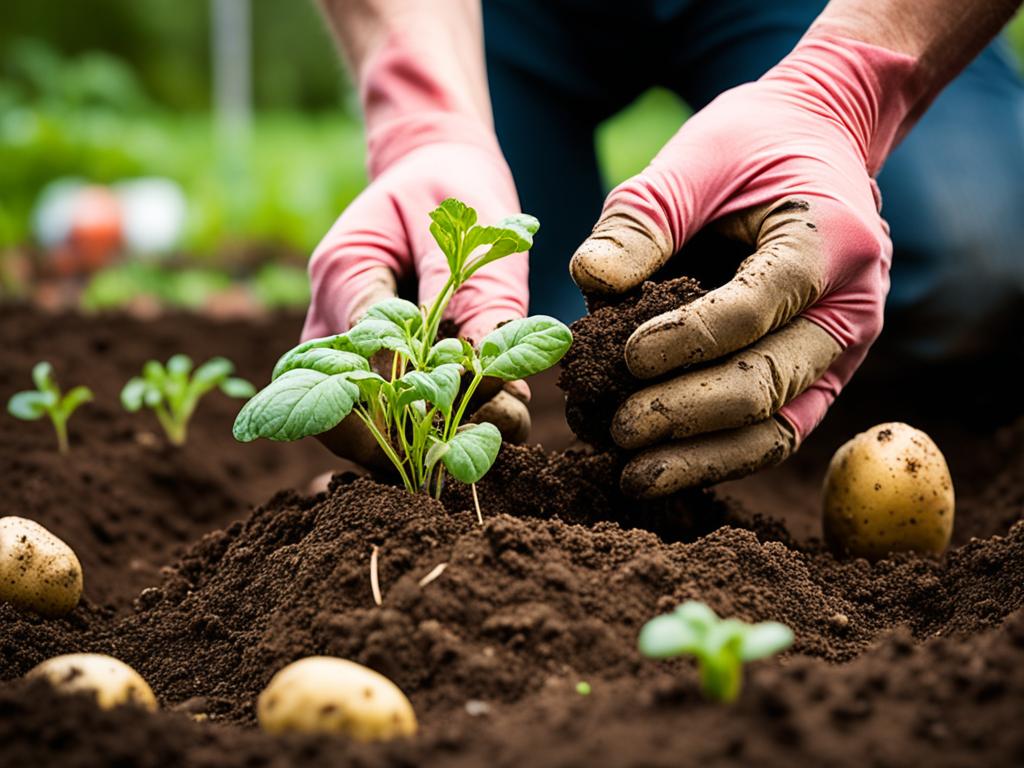
Growing potatoes from potatoes is easy and fun. Potatoes are tubers that grow underground. You can start them by planting pieces with “eyes” or buds. By following a few steps, you can grow your own potatoes at home.
Start with certified, disease-free seed potatoes. Prepare them well before planting. Plant them in the right conditions and take good care of them throughout the season. With the right techniques, you can enjoy a big harvest of delicious potatoes.
Choose the Right Planting Spot
Finding the perfect spot for growing potatoes is key. They love full sun, needing 6-8 hours of sunlight daily. They also prefer cool summer temperatures around 70°F (21°C) and can’t handle too much heat.
Make sure the soil is loose and drains well, enriched with compost or organic matter. This will help your potatoes grow well.
Don’t plant potatoes in the same spot every year. This can lead to soil problems and diseases. Plant them in late spring, after the last frost, for the best results.
Potatoes Thrive in Full Sun and Well-Draining Soil
Potatoes need a spot with lots of sunlight and the right soil. Find a garden area that gets full sun all day. The soil should be loose and drain well, as potatoes don’t like wet or hard soil.
Add compost or organic matter to the soil for better nutrients and drainage. This will help your potato plants grow strong and healthy.
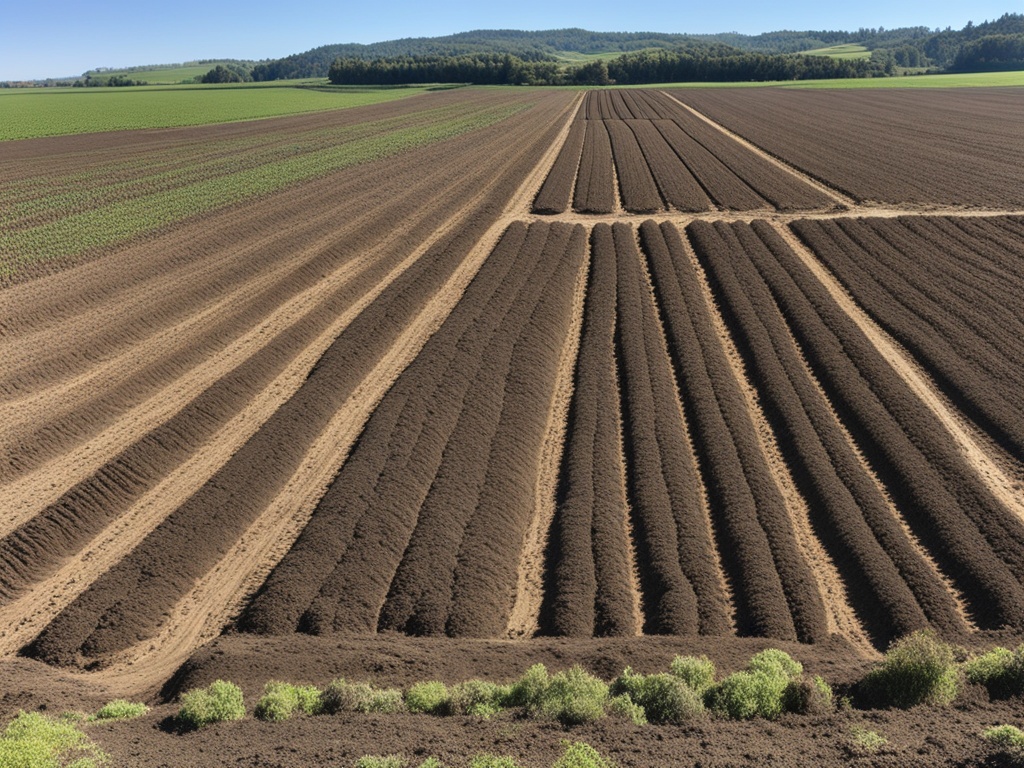
Choosing the right spot is crucial for a great potato harvest. With enough sun and good soil, your potatoes will grow well and give you a big yield.
Obtain Disease-Free Seed Potatoes
Starting with the right seed is key for a good potato harvest. Don’t use regular potatoes from the store. These potatoes may have sprout inhibitors and diseases that can harm your crop.
Pick Certified Seed Potatoes for Best Results
The best choice is certified disease-free potato seed. These seed potatoes are grown to be disease-free. Here’s why they’re a smart choice:
- Certified seed potatoes are checked and tested to be free of diseases.
- They are grown away from regular potato crops to stop disease spread.
- Using certified seed potatoes keeps pests and diseases out of your garden.
- Certified disease-free potato seed leads to more healthy, spotless potatoes.
You can buy certified seed potatoes at garden centers, farm stores, or online. Pick varieties that fit your local climate for the best outcome.
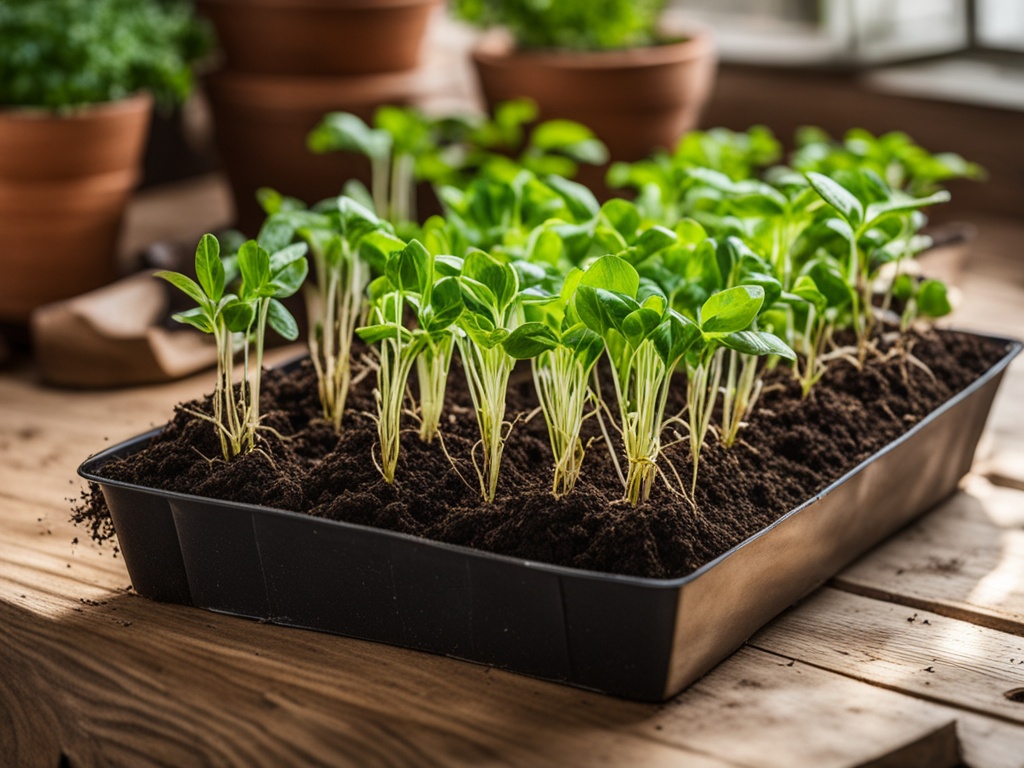
“Investing in certified seed potatoes ensures a healthy, productive potato crop. It’s a small price for a big harvest.”
Avoid using grocery store potatoes as seeds. The risks are not worth the savings. Choose high-quality, certified disease-free potato seed for a great potato garden.
Prepare the Seed Potatoes for Planting
To start your potato crop well, it’s key to prepare the seed potatoes right. If your seed potatoes are bigger than a golf ball, cut them into 2-inch chunks. Make sure each piece has at least 2 eyes or sprouts. This way, you can grow more plants from each potato.
Let the cut potato pieces sit for 1-2 days before planting. This lets the cut surfaces heal and form a protective layer. This helps prevent rot. The sprouts on the potato pieces are vital for growth, so be gentle with them when you plant.
| Potato Preparation Tip | Benefit |
|---|---|
| Cut larger potatoes into 2-inch chunks | Allows for more plants from a single potato |
| Let cut pieces sit for 1-2 days | Helps prevent rotting by forming a protective layer |
| Preserve the potato eyes and sprouts | Ensures healthy growth and development |
By taking the time to properly prepare your seed potatoes, you’re setting the stage for a great potato harvest. Remember, the key is to handle the potato eyes and sprouts with care throughout the planting process.
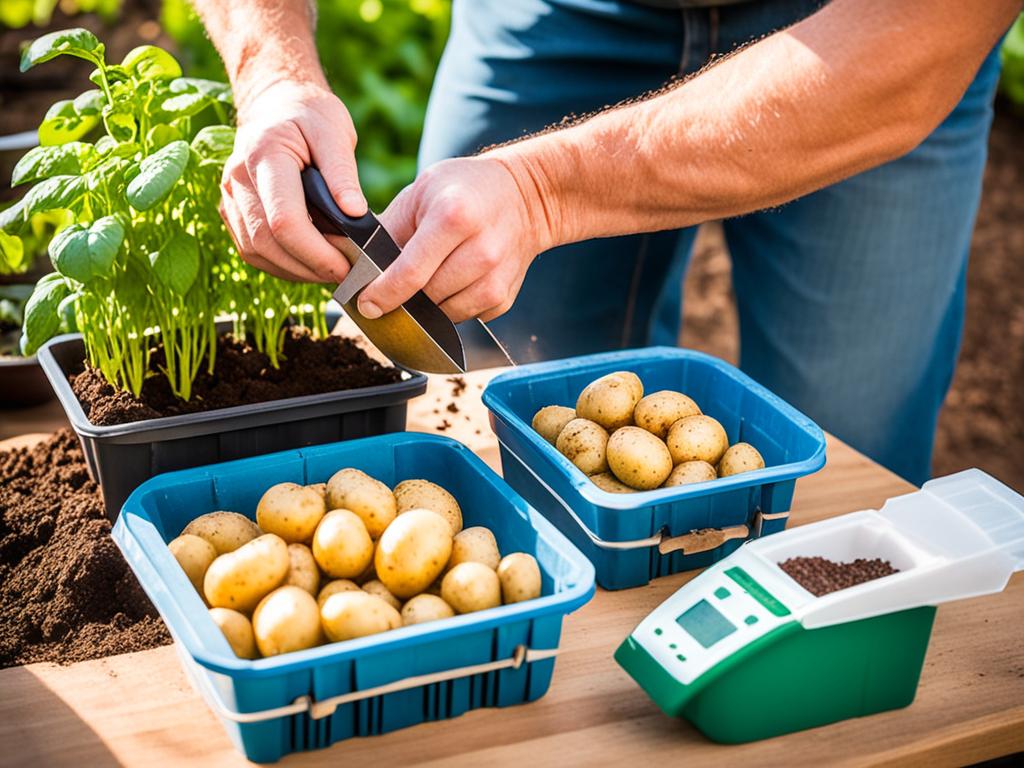
“Properly preparing your seed potatoes is a crucial step in growing a successful potato crop. Don’t skip this important task!”
Plant the Potato Pieces at the Right Depth
When planting your potato pieces, getting the depth right is key. Aim for a depth of 4 inches. Place each seed potato 12 inches apart to give them room to grow.
Begin by digging a trench or hole 4 inches deep. Put the potato pieces in, cut-side down, with the eyes up. Make sure they’re 12 inches apart in every direction. Then, cover them with 3-4 inches of soil.
As the plants grow, add more soil or mulch around the stems. Leave just the top leaves showing. This method encourages the potatoes to form below the soil.
| Planting Depth | Spacing |
|---|---|
| 4 inches deep | 12 inches apart |
This potato planting depth and spacing potato plants method is perfect for your potatoes. It prevents tubers from forming too close to the surface. This can cause them to become green and bitter.
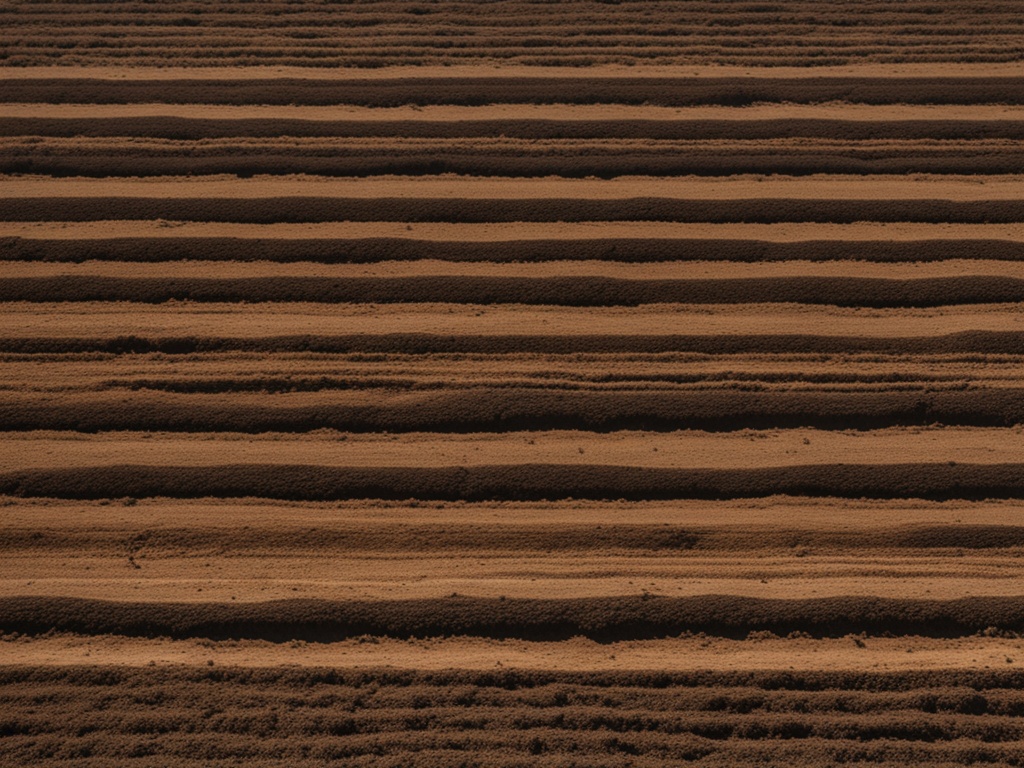
“Planting seed potatoes at the right depth and spacing is crucial for a bountiful potato harvest.”
Care for Your Potato Plants
Caring for your potato plants is key to a great harvest. They need enough water and soil hilling as they grow. Let’s look at how to care for your potato plants.
Provide Adequate Water and Hill Soil Around Plants
Potatoes need about 1-2 inches of water each week, including rain. Make sure to water when the top 2 inches of soil are dry. But, don’t overwater.
As your potato plants grow, add soil or mulch around the stems every 1-2 weeks. Leave just the top leaves showing. This keeps the tubers safe from sunlight, which can make them green and toxic.
- Water potato plants when the top 2 inches of soil become dry
- Hill soil or mulch around the stems every 1-2 weeks as the plants grow
- Leave the top leaves exposed to ensure healthy plant growth
Also, remove weeds around your potato plants often. Weeds can take nutrients and water from your potatoes, slowing their growth.

With enough water and soil hilling, you’re on your way to a great potato harvest. Remember, the right care and attention are crucial for a successful crop.
Harvest Your Potatoes at the Right Time
Knowing when to harvest your potatoes is key for a great crop. Potatoes are ready when the leaves and flowers start to die back, usually 70-100 days after planting. Harvesting too early or late can affect the quality and amount of potatoes you get.
For “new” potatoes, harvest them about 7-8 weeks after planting, when the plant flowers. Use a fork to carefully dig around the plants and lift the tubers. These early potatoes are tasty but don’t keep as long as the main crop.
For the main crop, wait until the foliage dies back completely before digging. This is usually in late summer or early fall, based on your climate. At this point, the potato skins are thick, making them good for storage.
To check if potatoes are ripe, rub their skins gently. Ripe potatoes won’t come off easily. Don’t pick potatoes with green skins or sprouts, as they can be toxic.
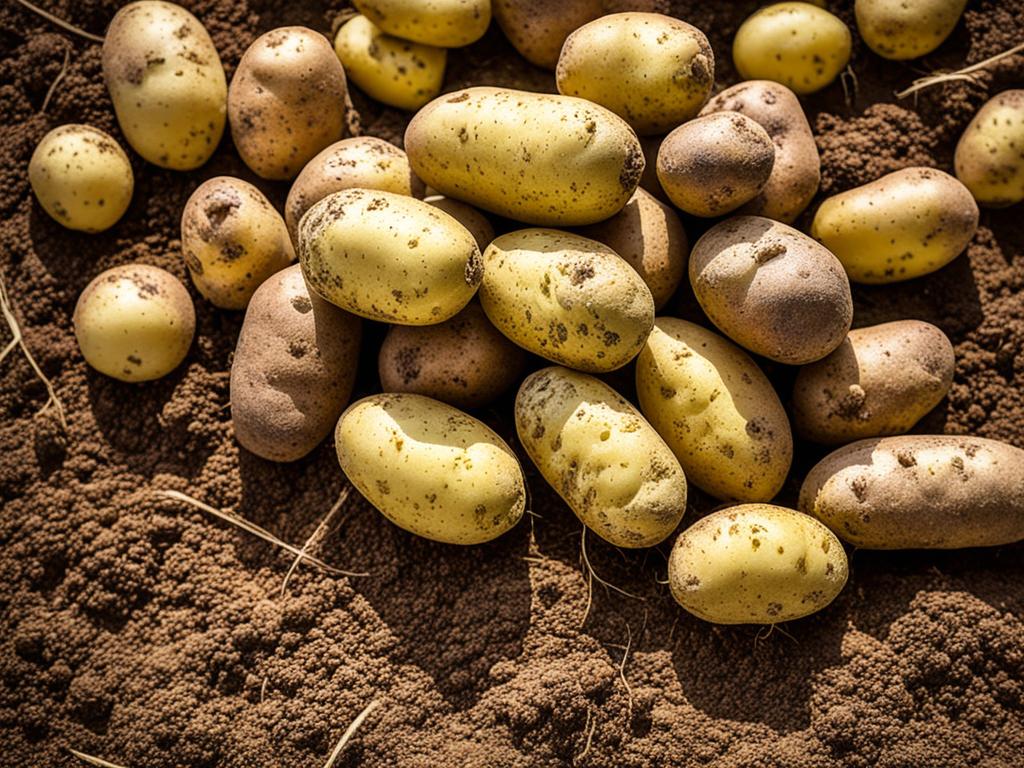
You can usually get about 5-6 potatoes per plant. Don’t leave the potatoes in the ground too long, as they can become too crowded and lower the yield.
Proper curing and storage are key to keeping your potatoes fresh. After digging, let the potatoes sit in a shaded area for 2 weeks to harden the skins. Then, store them in a cool, dark place with the right temperature and humidity for up to 8 months.
Plant Potatoes in Containers for Small Spaces
Growing potatoes in containers is great for gardeners with little space. With the right techniques and tips, you can get a big potato harvest in small spots like patios, balconies, or decks.
Follow Special Tips for Container Potato Growing
To grow potatoes in containers, start with a 10-gallon pot that has good drainage holes. Fill it one-third with fast-draining potting soil. Then, plant the seed potatoes 6 inches apart, with the sprouts up, and cover them with 6 inches of soil.
As the plants grow, add more soil to the container, leaving just the top leaves out. This method, called “hilling,” helps the tubers grow right. Make sure to water the container when the top 2 inches of soil get dry. Potatoes need steady moisture to grow well.
- Use a minimum 10-gallon pot with drainage holes
- Plant seed potatoes 6 inches apart, 6 inches deep
- Add more soil as plants grow, leaving only the top leaves exposed
- Water whenever the top 2 inches of soil become dry
With the right container, soil, and care, you can get a big harvest of potatoes in about 18-20 weeks. This is after the foliage has died back.
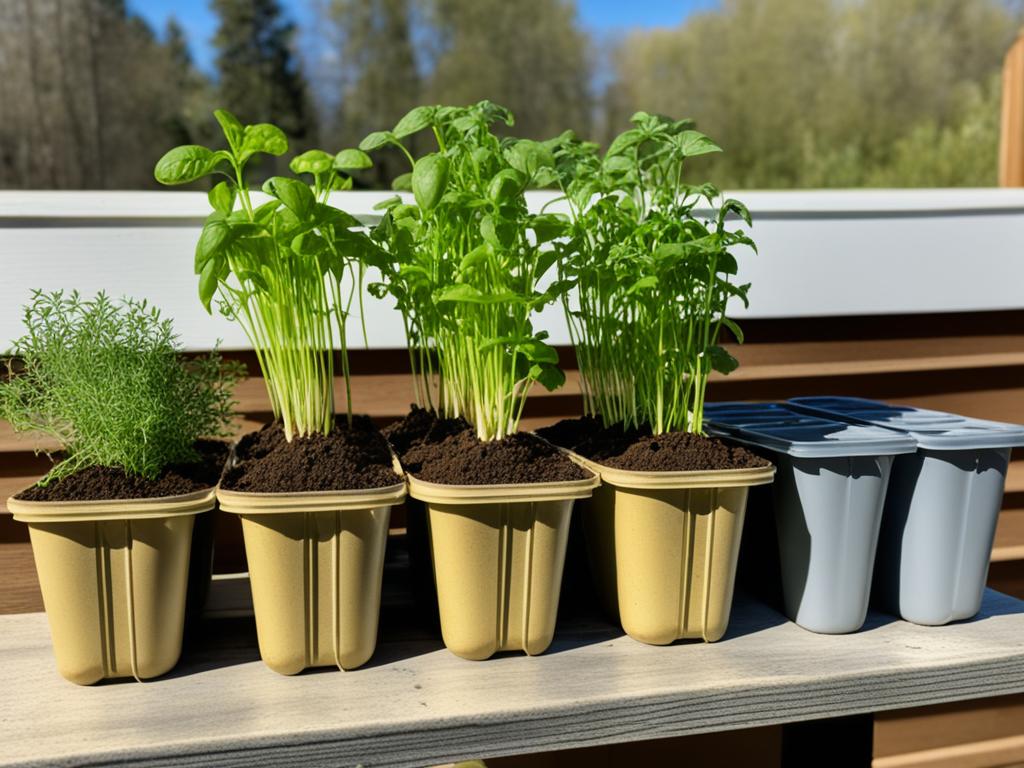
| Recommended Container Size | Seed Potatoes per Container | Typical Yield |
|---|---|---|
| 10-15 gallons, 2-3 feet deep | 2-4 seed potatoes | 5-10 potatoes per plant |
By using these tips for growing potatoes in containers, you can have a lot of fresh, homegrown potatoes in small spaces. With a bit of care and attention, you’ll get a tasty crop that’s great for your kitchen.
how to grow potatoes from potatoes
Potatoes are easy and affordable to grow at home. You can grow new plants from existing potatoes using vegetative reproduction. Just plant a piece of a potato with at least one “eye” to get a new plant.
Growing potatoes from potatoes is easy and fun. Here’s how to do it:
- Start with disease-free, certified seed potatoes. Don’t use potatoes from the store because they might be treated to stop them from growing.
- Cut the seed potatoes into chunks, making sure each has an eye. Let them dry out for a day or two before you plant them.
- Plant the potato pieces 3-4 inches deep and 12 inches apart in good soil. The soil should be at least 50°F (10°C) for planting.
- Keep the soil moist all season, watering about 1-2 inches a week.
- As the plants grow, cover the lower stems and tubers with soil to keep them from getting sunlight.
- Pick the potatoes when the plants start to flower and die back, usually 18-20 weeks after planting.
By propagating potatoes this way, you can keep growing new crops without buying new seeds every year. It’s a smart way to increase your harvest and save money on this versatile vegetable.
“Potatoes are a great crop for beginner gardeners because they’re so easy to grow from potatoes you already have.”
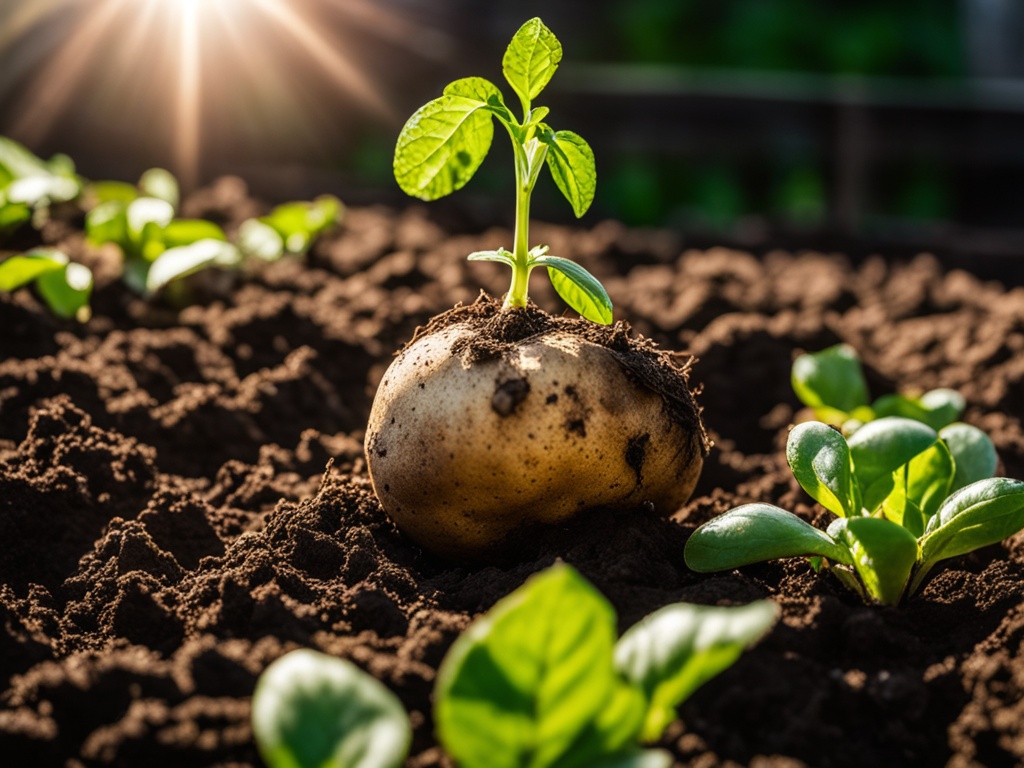
With a little care, you can have a big harvest of potatoes by growing potatoes from potatoes. It’s a rewarding and cost-saving way to get this nutritious food for your kitchen.
Dealing with Common Potato Pests and Diseases
As a potato grower, I face many challenges from pests and diseases. But, with vigilance and organic methods, we can beat these issues and get a great potato harvest.
Identifying and Treating Issues Early
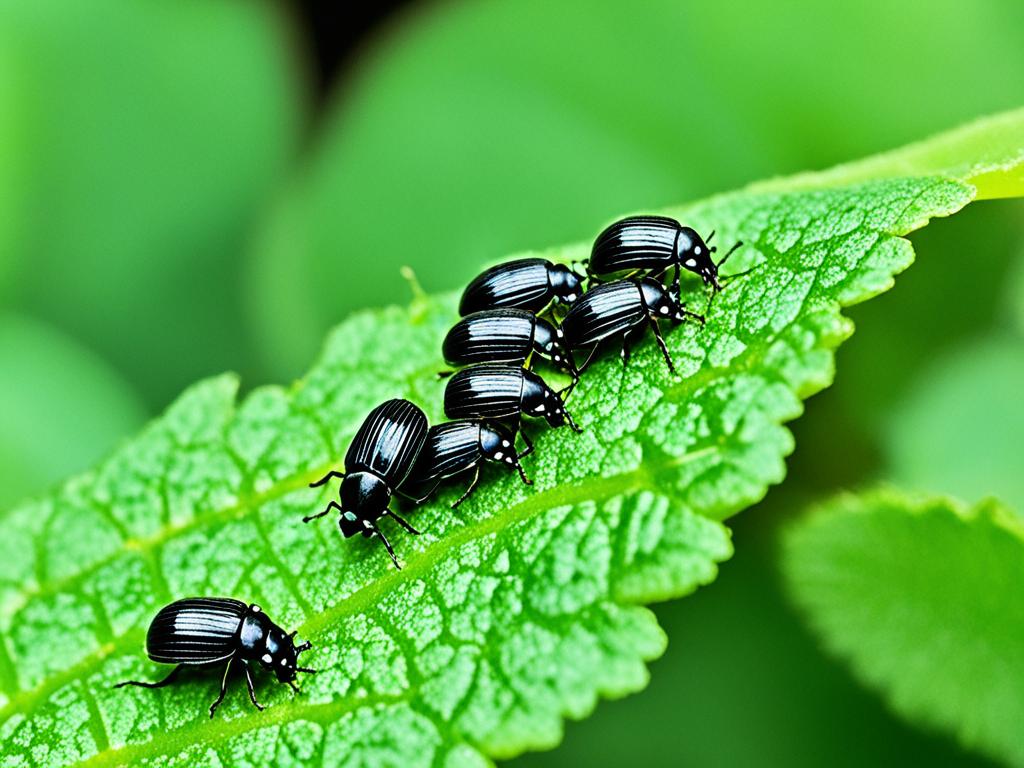
Checking your potato plants often is key to spotting problems early. Watch out for pests like the Colorado potato beetle and aphids, which spread viruses. Fungal diseases like late blight and common scab can destroy your crop if not caught.
For pests, I choose organic control. Hand-picking, neem oil, and floating row covers work well. For diseases, remove sick parts and rotate crops to stop soil pathogens.
| Pest/Disease | Symptoms | Organic Control Methods |
|---|---|---|
| Colorado Potato Beetle | Chewing damage to leaves and stems | Hand-picking, neem oil, row covers |
| Late Blight | Rapidly spreading, brown, water-soaked lesions on leaves and stems | Remove affected plant parts, crop rotation |
| Common Scab | Rough, corky, brown spots on the surface of tubers | Use certified seed potatoes, maintain proper soil pH |
By being vigilant and acting fast, you can keep your potatoes healthy and pest-free.
Storing Potatoes for Long-Term Use
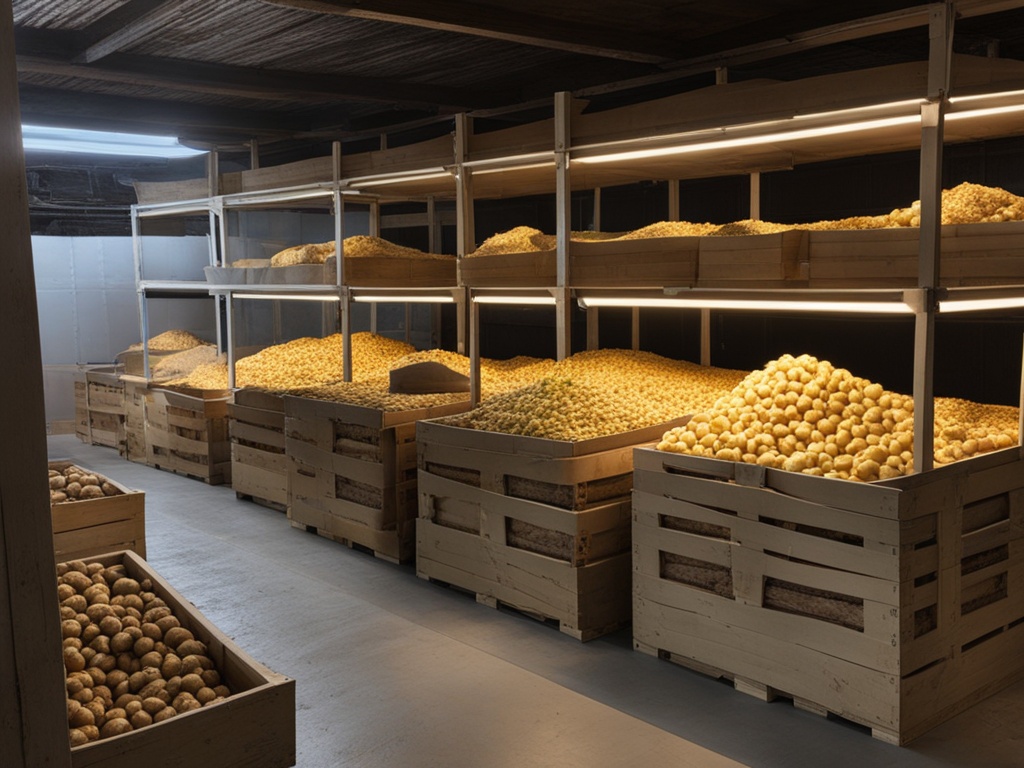
Storing your harvested potatoes right is crucial for keeping their fresh taste and texture. After the first 1-2 weeks in a cool, dark spot with good air flow, it’s time to get them ready for long storage.
For potatoes, the best storage is a cool (40-50°F), dark, and humid place like a root cellar or basement. Don’t keep them in the fridge, as the cold can make them sweet and change their flavor. With proper storage, your potatoes can last 3-6 months.
To keep your potatoes fresh for a long time, follow these potato storage tips:
- Keep the temperature around 50°F and the humidity between 90-95% for the best storage.
- Don’t store potatoes with onions, as onions release moisture that can make potatoes spoil faster.
- Keep potatoes away from sunlight, which can make them green, wrinkly, and rotten.
- Stay away from warm spots like near the oven or on top of the fridge to stop them from sprouting early.
- Think about using wood shavings or peat moss to create the ideal environment for storing harvested potatoes.
By following these tips, you can enjoy your potatoes for months after harvest. With a bit of care, your potatoes will stay tasty and ready for your meals.
“Proper potato storage is the key to maximizing their shelf life and preserving their quality.”
Grow Different Potato Varieties
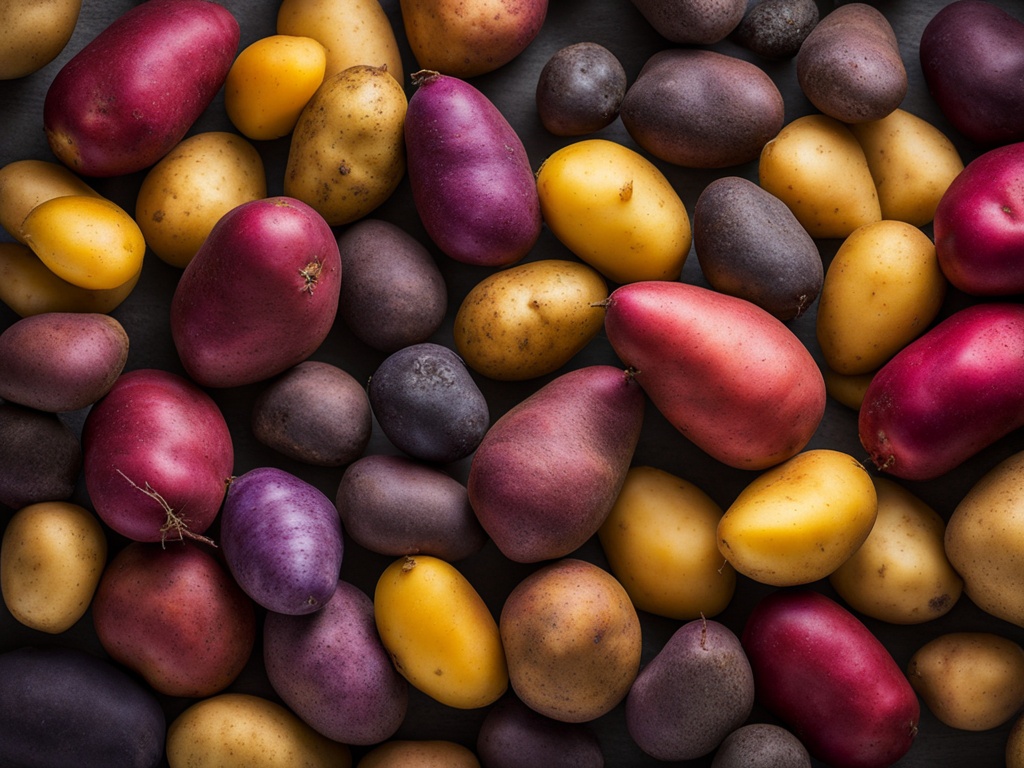
Potatoes come in many types, each with its own flavor, texture, and best uses. Whether you’re experienced or new to gardening, trying different potato types can be exciting. From classic Russets to small Fingerlings, there are endless choices.
Explore the Potato Palette
When picking potato varieties, think about the growing season, disease resistance, and how you’ll use them. Early, mid, and late-season potatoes can make your harvest last longer and offer a variety of flavors. Here’s a brief look at some popular potato types:
- Russet Potatoes – Known for their fluffy, starchy texture, Russets are ideal for baking, mashing, and making French fries.
- Fingerling Potatoes – These small, oblong-shaped potatoes have a smooth, waxy texture that makes them perfect for roasting, sautéing, or adding to salads.
- Red Potatoes – With their vibrant red skin and firm, creamy flesh, red potatoes are great for boiling, roasting, and potato salads.
- Yukon Gold Potatoes – Striking a balance between starchy and waxy, Yukon Golds are versatile for mashing, roasting, and baking.
- Purple Majesty Potatoes – These eye-catching purple-skinned and fleshed potatoes are not only beautiful, but they’re also packed with antioxidants.
Check out local nurseries, seed catalogs, and online stores to find more unique potato varieties for your garden. With so many choices, you can create a diverse and tasty potato harvest.
Grow Potatoes Organically for Healthier Crop
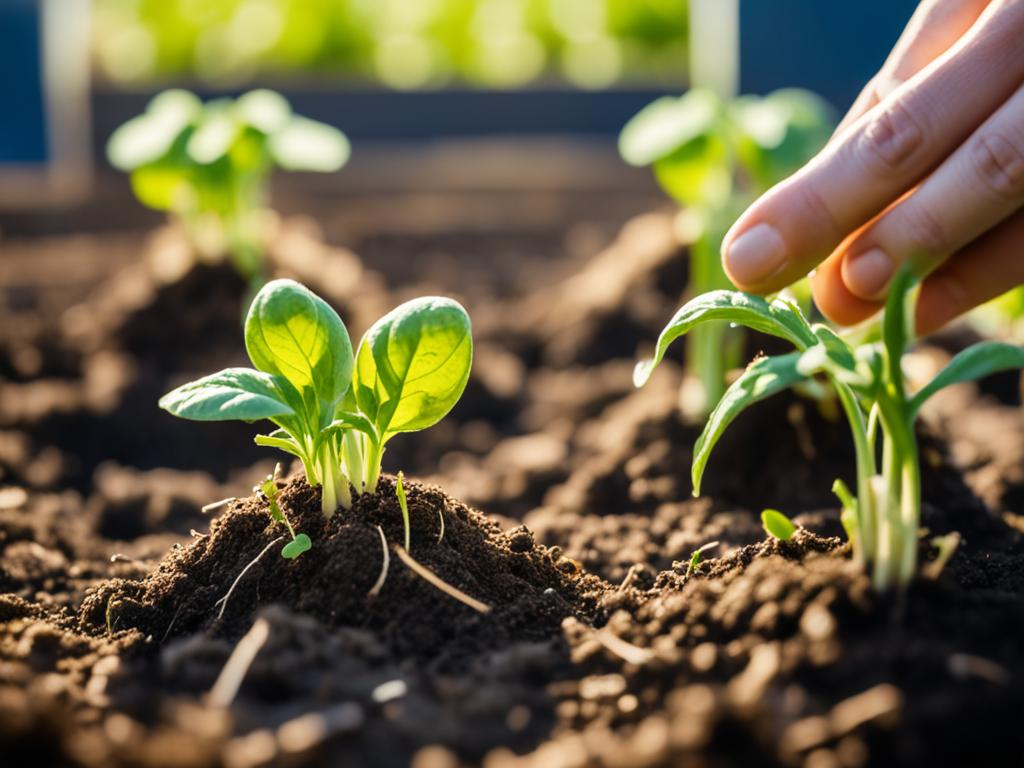
Growing potatoes organically means not using synthetic pesticides and fertilizers. Organic potato growing uses compost, cover crops, and natural minerals to make soil healthy. This helps the potatoes fight off pests and diseases naturally.
Organic farming also uses crop rotation and companion planting to keep potatoes healthy. These methods might take more work, but they give you fresh, tasty, and chemical-free homegrown potatoes. It’s a great choice for anyone looking to grow their own food.
- Potatoes typically take around three to four months to reach maturity.
- Potatoes require a minimum of six hours of sunlight per day for optimal growth.
- It is recommended to plant certified disease-free seed potatoes for best results.
- Potatoes need about one inch of water per week but can be affected by drought if not watered consistently.
Choosing sustainable potato farming practices leads to a healthier crop of potatoes. It also helps the environment. Growing organic potatoes means you get to enjoy delicious, chemical-free food that’s good for you and the earth.
“Growing potatoes organically is a rewarding and sustainable approach that focuses on building healthy, nutrient-rich soil.”
| Conventional Potato Farming | Organic Potato Cultivation |
|---|---|
| Relies on synthetic pesticides and fertilizers | Uses compost, cover crops, and natural amendments |
| Potentially exposes consumers to chemical residues | Produces chemical-free, healthier potatoes |
| Can contribute to soil degradation over time | Helps build and maintain soil fertility |
| Potatoes are priced under a dollar per pound | Organically grown potatoes are significantly more expensive |
Benefits of Growing Your Own Potatoes
Growing your own potatoes has many perks, not just a big harvest. They taste fresher and are tastier than store-bought ones. Plus, they don’t have synthetic chemicals. You control how they’re grown, making them sustainable and good for the planet.
Potatoes are packed with complex carbs, vitamins, and minerals. They’re a key food for a healthy diet. A garden can bring in about $675 worth of produce, showing the money-saving side of growing your own potatoes. The joy of growing this easy vegetable from seed to plate is very rewarding.
- Potatoes are full of nutrients like fiber, vitamin C, B6, and potassium.
- Local potato farming helps local economies and supports sustainable farming.
- It cuts down on carbon emissions by reducing the distance from farm to table.
- Home gardeners can fight pests without using chemicals, lowering pesticide use.
- You can get 80 pounds of potatoes from just ten square feet of space.
Looking to save money, eat healthier, or feel proud of your gardening? The benefits of homegrown potatoes are many. The advantages of growing potatoes and the reasons to grow your own potatoes make it a great choice for gardeners.
“Growing your own potatoes is a simple yet rewarding way to enjoy a bountiful harvest of fresh, flavorful produce while reducing your environmental impact.”
Conclusion
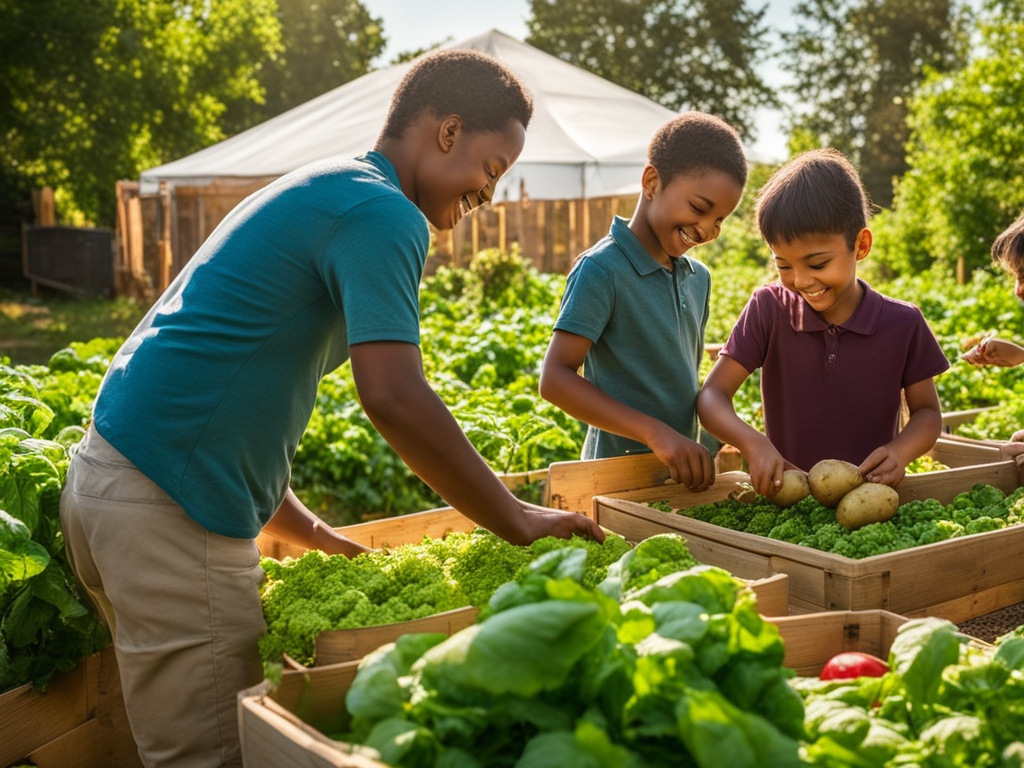
Growing potatoes from potatoes is easy and rewarding. It lets me enjoy the fresh taste of this versatile vegetable. I start with certified disease-free seed potatoes and prepare the soil well. Then, I care for them right throughout the season.
This way, I can grow a lot of potatoes in my backyard or containers. With a bit of time and effort, I get a steady supply of tasty, nutritious potatoes. These are way better than what you can buy in stores.
There are many types of potatoes to try, like the vibrant Russian Blue and the rich, buttery Seglinde. Growing potatoes in my garden or containers brings me great joy. By using the right methods and keeping an eye out for pests or diseases, I can have a big, healthy potato harvest every year. Let’s enjoy the fun of growing our own potatoes and taste the difference!
FAQ
How do I grow potatoes from potatoes?
Growing potatoes from potatoes is easy and fun. Start with disease-free seed potatoes. Prepare them well, plant them in the right spot, and care for them all season.
What type of planting spot do potatoes need?
Potatoes need a spot that gets 6-8 hours of sunlight daily. They like cool summer weather around 70°F (21°C). The soil should drain well and be rich in nutrients.
What’s the difference between seed potatoes and regular potatoes?
Seed potatoes are grown to be disease-free. Regular potatoes from stores might have sprout inhibitors and could bring pests and diseases to your garden.
How do I prepare the seed potatoes for planting?
If your seed potatoes are big, cut them into 2-inch chunks. Make sure each piece has at least 2 eyes or sprouts. Let the cut pieces sit for 1-2 days to form a protective layer.
How deep and far apart should I plant the potato pieces?
Plant the potato pieces cut-side down, 4 inches deep, and 12 inches apart. This gives the roots and tubers enough room to grow.
How do I care for the potato plants as they grow?
Potatoes need about 1-2 inches of water per week. As they grow, add soil or mulch around the stems, leaving the top leaves exposed. Remove weeds around the plants regularly.
When is the best time to harvest potatoes?
Potatoes are ready when the plant’s leaves and flowers start to die back, usually 70-100 days after planting. Start harvesting “new” potatoes about 7-8 weeks after planting.
Can I grow potatoes in containers?
Yes, you can grow potatoes in containers or large pots. Use a 10-gallon pot with drainage holes. Follow the same steps as for an in-ground garden.
How can I grow more potatoes from the ones I already have?
You can grow more potatoes by cutting larger potatoes into chunks. Plant these pieces, let them sprout and grow. This way, you can increase your potato crop.
How do I store harvested potatoes?
After harvesting, let potatoes cure for 1-2 weeks in a cool, dark place with good air flow. Then, store them in a cool (40-50°F), dark spot like a root cellar or basement for longer storage.
